How to Configure your TP-Link WiFi Router to Work as Access Point?
If you are using tplink wifi router then you must know about
the number of possible settings and configurations you can make for your
device. There are many advance features that you will receive with your device
and all these features will help you to enjoy wifi for your wireless devices.
You can use the default web address http:// tplinklogin.net for making the
advance settings for your device.
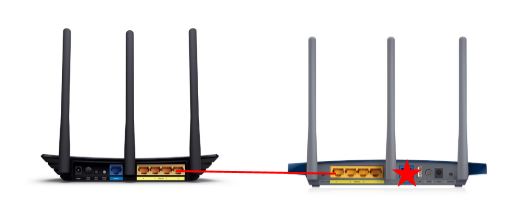
In this article we are going to explain the process to
follow so you can configure your tplink wifi routers to work as an access
point. After configuring the tplink router to work as an access point
you cannot need to purchase a separate access point for your home network.
Remember that all these settings will again possible using the tplink wifirouter login page at your computer system.
Here are the Steps for Configuring the TP-Link Wifi Routers as Access Point
·
First you can use any Ethernet cable and connect
your computer system with the TP-Link wifi router. you can also go for the
wireless connections for your devices.
·
After that you can access the tplink router
login page. There you can either use http:// tplinklogin.net or http://
192.168.0.1 IP address for getting login for the tplink wifi router setup page.
·
Under the “Network” tab you will find the “LAN”
option.
·
There you will need to change the IP address for
your device. You have to choose the IP same as your main router device using.
·
After that go for the “Wireless Security” under
the “Wireless” tab. There you can specify the security precautions for your
device very easily.
·
Make sure to disable the “DHCP Server” only then
your system will work smoothly as access point.
After making all these simple settings you can power cycle
your tplink wifi router for once. You will need to power cycle your tplink
router so that all settings can get reflected to your device and you can now
place your device to a location you think is good for your device.


Comments
Post a Comment